The last
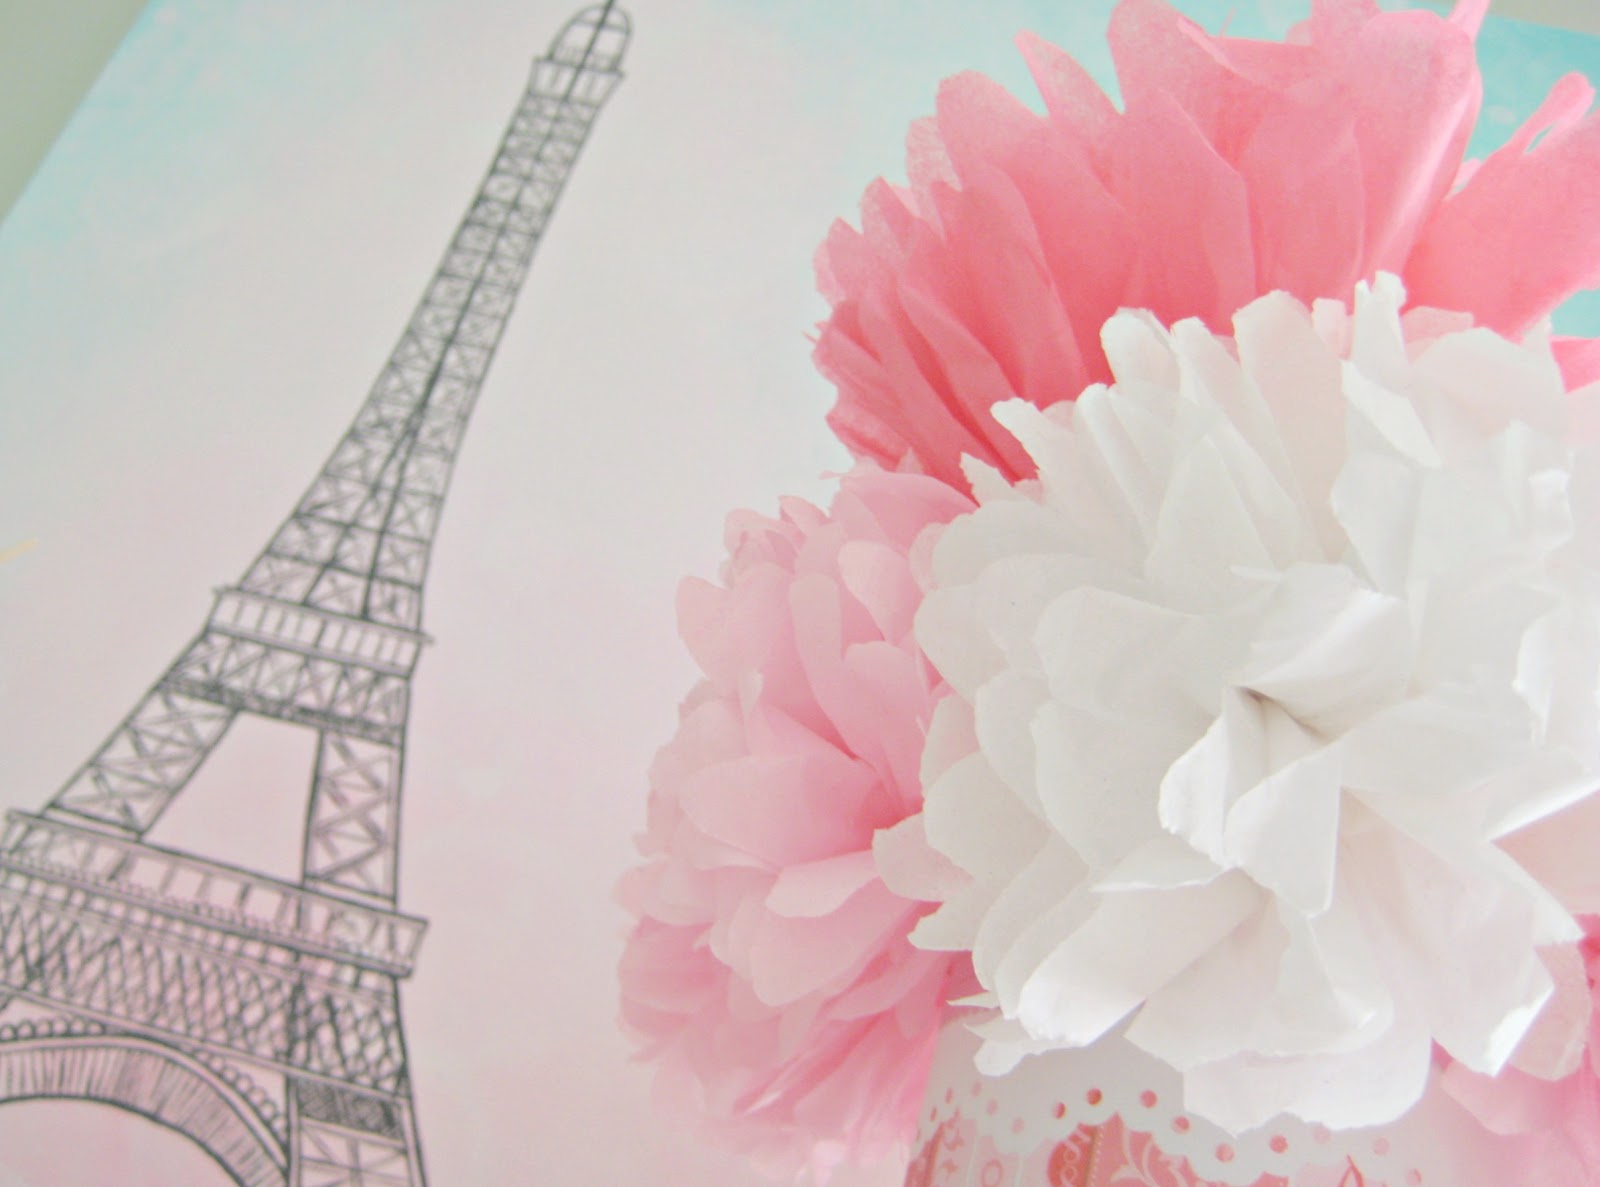
Creative Thursday post was a shabby chic inspired painting of Paris' Eiffel Tower. I was looking over at the mantel and couldn't help but say that a bouquet of peonies would look elegantly beautiful right next to my painting. Lo and be hold, peonies are not yet in season! And sadly, peonies season is relatively short, they bloom late April to early June and its done...
I figure since I do not have a garden of my own, let alone afford to buy fresh flowers as often as I like... I'd have to find an alternative way of adding a touch of pretty. Tissue paper flowers. Inexpensive, pretty, and last much longer than the real thing, of course I'll never get the wonderful fragrant over the real peonies. Buy hey, this is all eyes for now. At least until the real thing blooms.
All you need is:
(8) 6x10 inch tissue paper per blossom
pair of scissors
ribbon or string
thin wire or pipe cleaner
Stack 8 sheets of tissue. Make 1/2 inch folds in an accordion-like pattern, creasing with each fold. Folds do not have to be perfect, gives the final look of the blossom some character.
Tie a ribbon or string around the center fold.
Trim the ends of the tissue. Petals of the blossom to look pointy or rounded.
And now the fun part, fluff! Separate the layers, by pulling away from the center. Easier if you do one side first, pulling one layer at a time.
I did this one with half rounded petals and half pointy petals.
Ever wonder what you could do with foods that come in canisters like these? I know, what a waste right? How often do these get tossed out into the trash... Eco-friendly please...
Recycle, or turn it into something useful. With a few scraps of paper, ribbons, and decorative pieces... here's a easy one.
I'm using scrapbook card stocks. Color theme: whites, pinks, creams, and light shades of blues. Be creative. Construction and color paper works just fine, even fabric.
I covered the canister with card stock paper, secured with clear tape. Glue works fine too.
Giving it that shabby chic, English country, cottage style look, I placed a white paper doily and tied a cream color satin ribbon to hold it in place.
Simple as that! You can easily transform any mundane canister into a useful vase, pen/pencils holder, table center pieces, or just need a touch of pretty home decor.
Good luck! Get creative.


No comments:
Post a Comment